

Signing up
At dash.taberna.io you can register two ways. With an email and password. Your password must be at least 12 characters. There are no other rules. With a wallet. Connect Phantom or Solflare and sign a message to prove the wallet is yours. You still give an email address. Wallet sign-in is Solana wallets only. Either way you must accept the terms, pass a quick bot check, and then click the verification link Taberna emails you. You cannot sign in until your email is verified, and there is no way to resend the link from the dashboard — if it does not arrive, check your spam folder and then email support.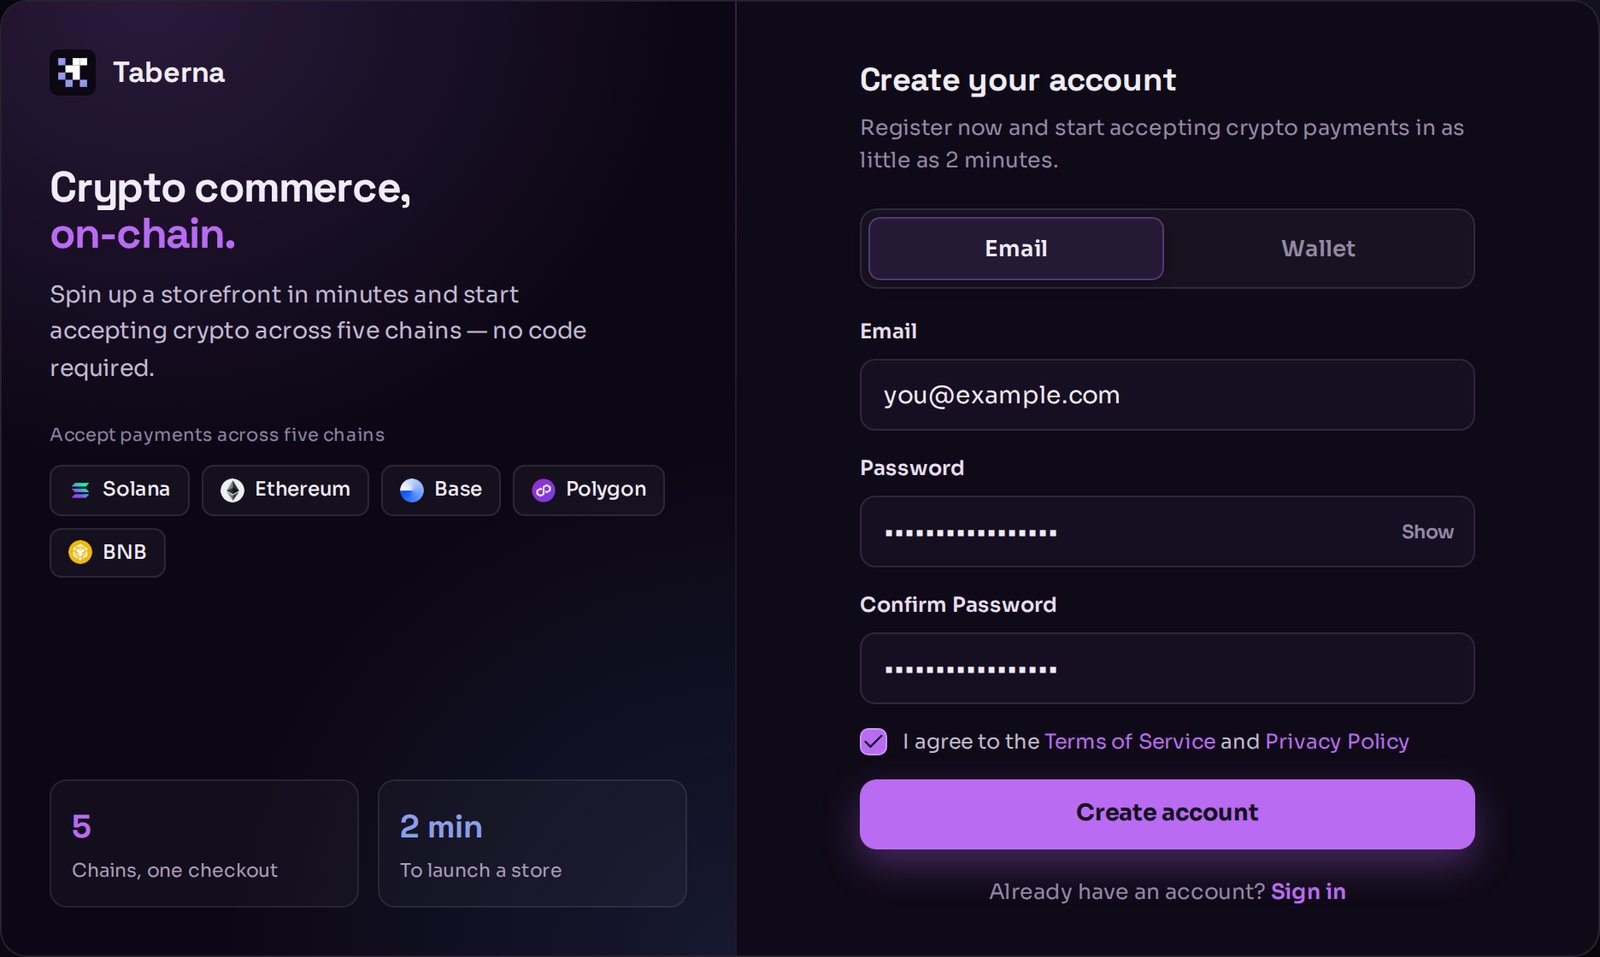
Registering with an email address. The Wallet tab connects Phantom or Solflare instead.
The three setup steps
The first time you sign in, Taberna runs a short setup wizard.Step 1 — Create your store
Give your store a name (up to 50 characters) and, if you like, a logo. Both appear on the checkout page your customers see. This step is required. Everything else can wait.Step 2 — Set up your first payment method
Choose one network, then paste the wallet address on that network where you want to be paid. Taberna switches on every coin available on that network at once — pick Base, for example, and you accept ETH, USDC and USDT there. You can skip this, but nothing can be sold until a payout address exists. See Payout wallets and Payment methods.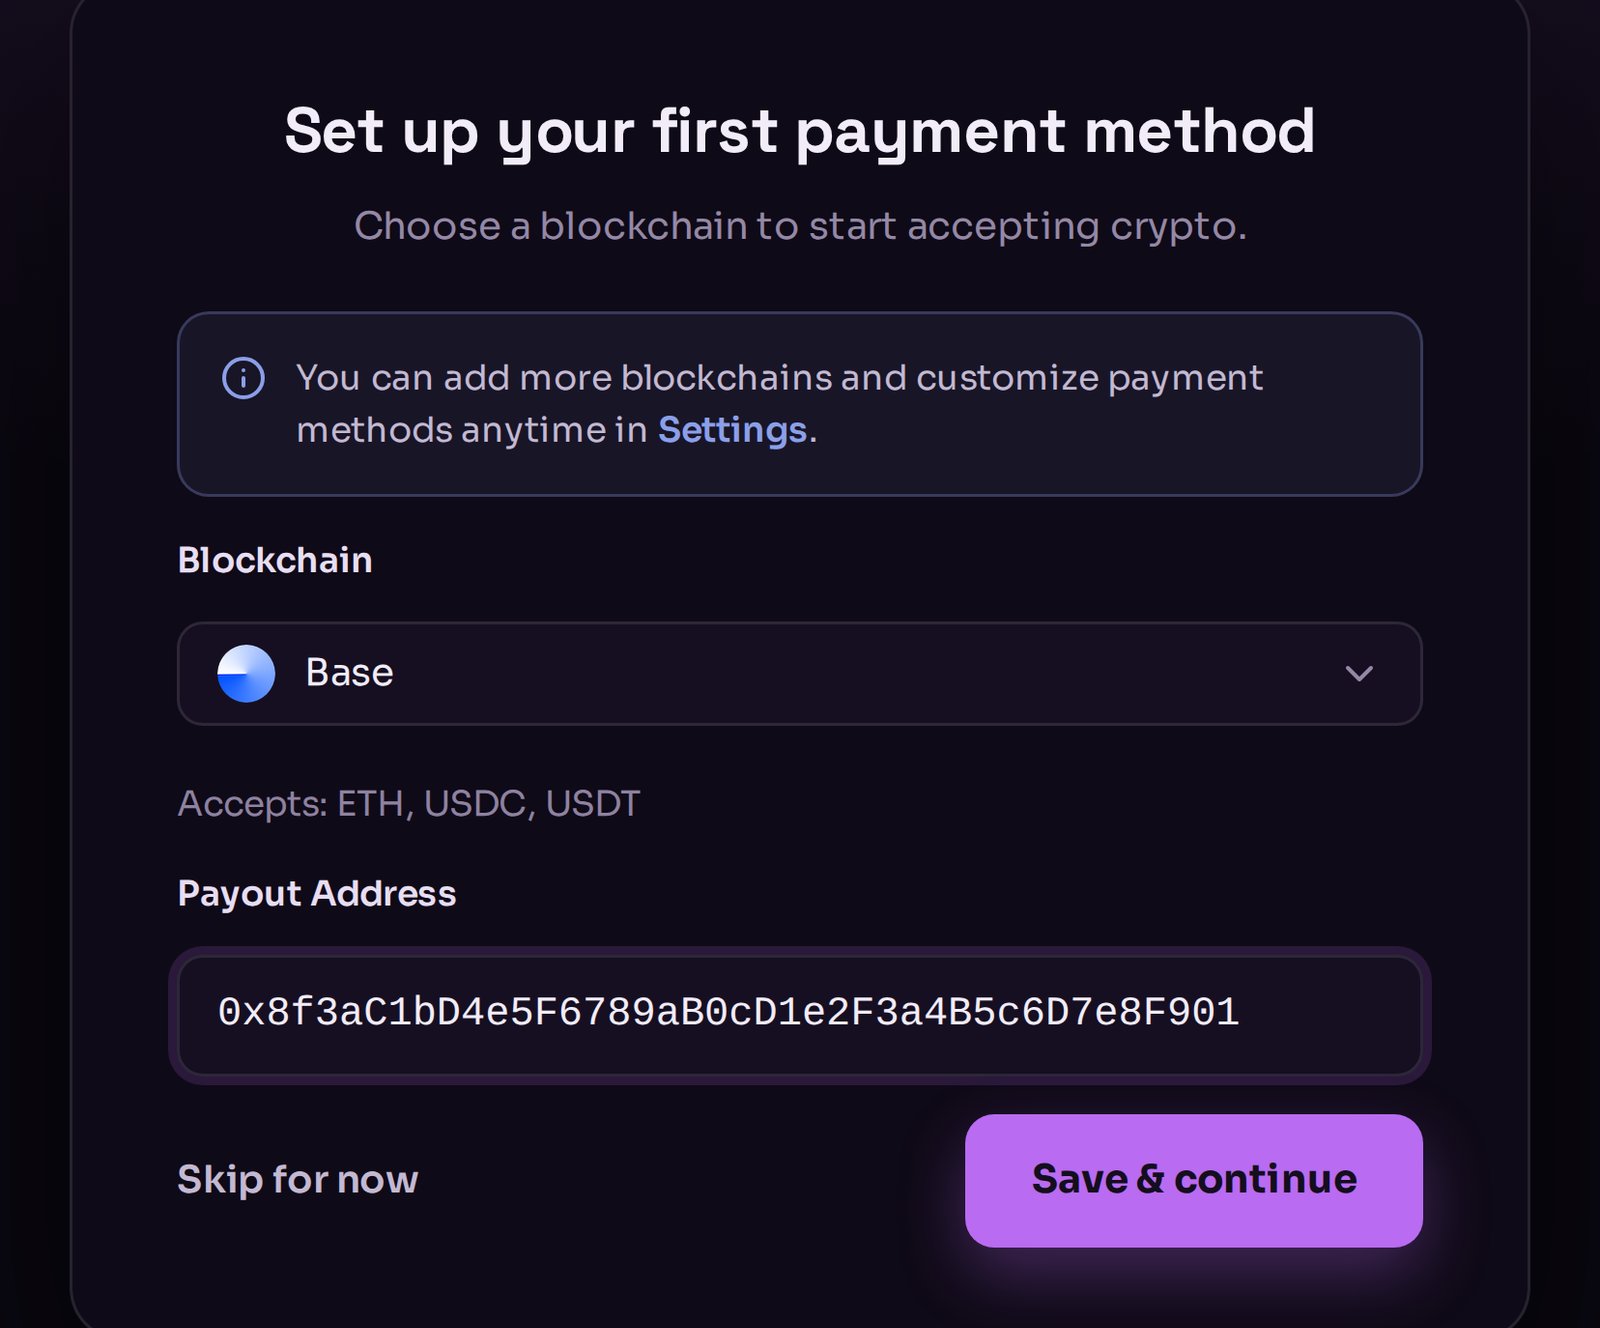
Step 2 of setup: one network, one payout address.
Step 3 — Create your first product
The same form you will use from then on: title, description, price, currency, image and a Listed checkbox. Also skippable. See Products.After setup
Everything from the wizard can be changed later, and a few things are only available afterwards:There is no KYC and no identity check. Sign up, name a store, paste a payout
address, and sell. You are responsible for what you sell — see the terms on
taberna.io.